Step-by-Step Tutorial: How to Install a Stair Runner Yourself Like a Pro

Hey there, DIY enthusiasts! Have you ever looked at your staircase and thought it could use a little sprucing up? We did too, and what we found was a game-changer: how to install a stair runner yourself. It elevated the look of our staircase, added a touch of elegance, and even made our steps safer. And the best part? We did it ourselves! Join us on this journey of transformation, and let’s turn your staircase from drab to fab!
Key Takeaways
-
Choosing a stair runner involves finding the right blend of style, material, and width and it should match your home decor while providing safety and protecting stairs.
-
Prep work like sanding, cleaning, and repairing stairs is essential before installation to ensure the stair runner adheres properly and looks great.
-
Installing a stair runner is a precise task that involves measuring accurately, aligning rug pads, carefully stapling for a secure fit, and potentially seaming multiple runners for longer staircases.
Choosing Your Stair Runner
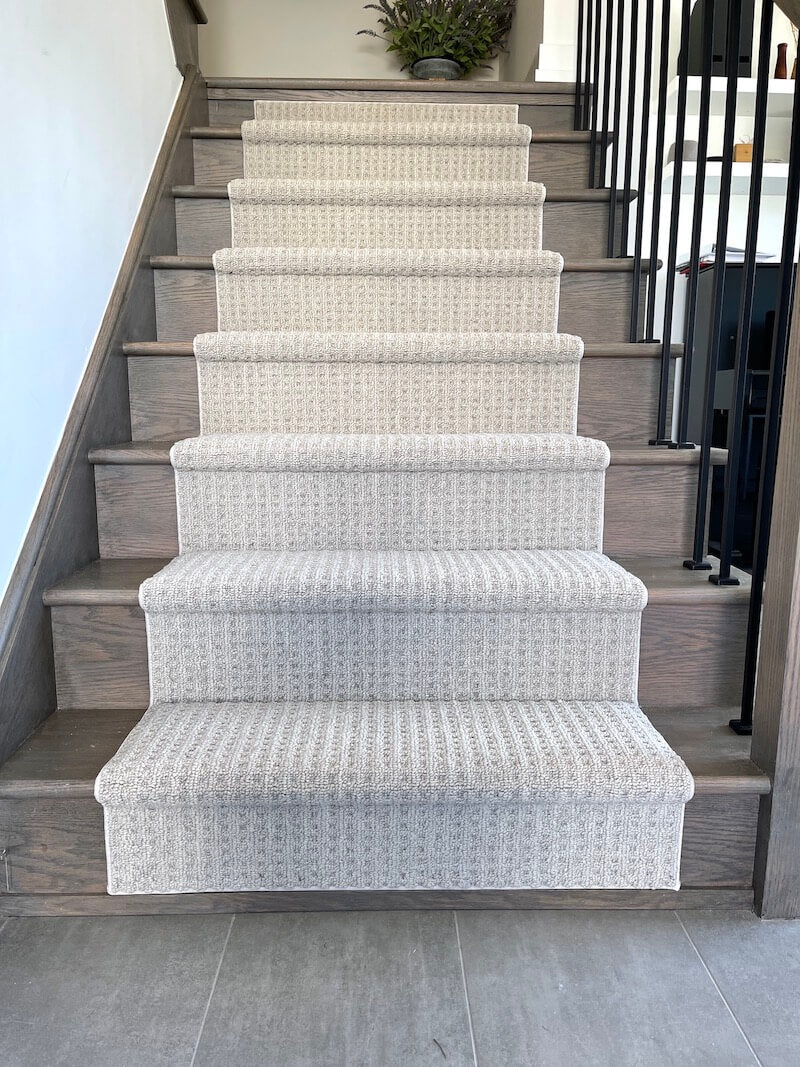
When it comes to stair runners, it’s not just about picking the first one that catches your eye. It’s about finding the perfect blend of style, material, and width to match your staircase and overall home décor. A well-chosen runner can transform your staircase into an elegant centerpiece, while also providing safety for those traversing the stairs.
In our journey of DIY stair runner installation, we found that the right runner will not only enhance the aesthetics of the staircase but also improve its functionality. It protects your hardwood stairs from wear and tear, reduces noise, and, most importantly, provides a safe, non-slip surface for everyone in the house.
Material Matters
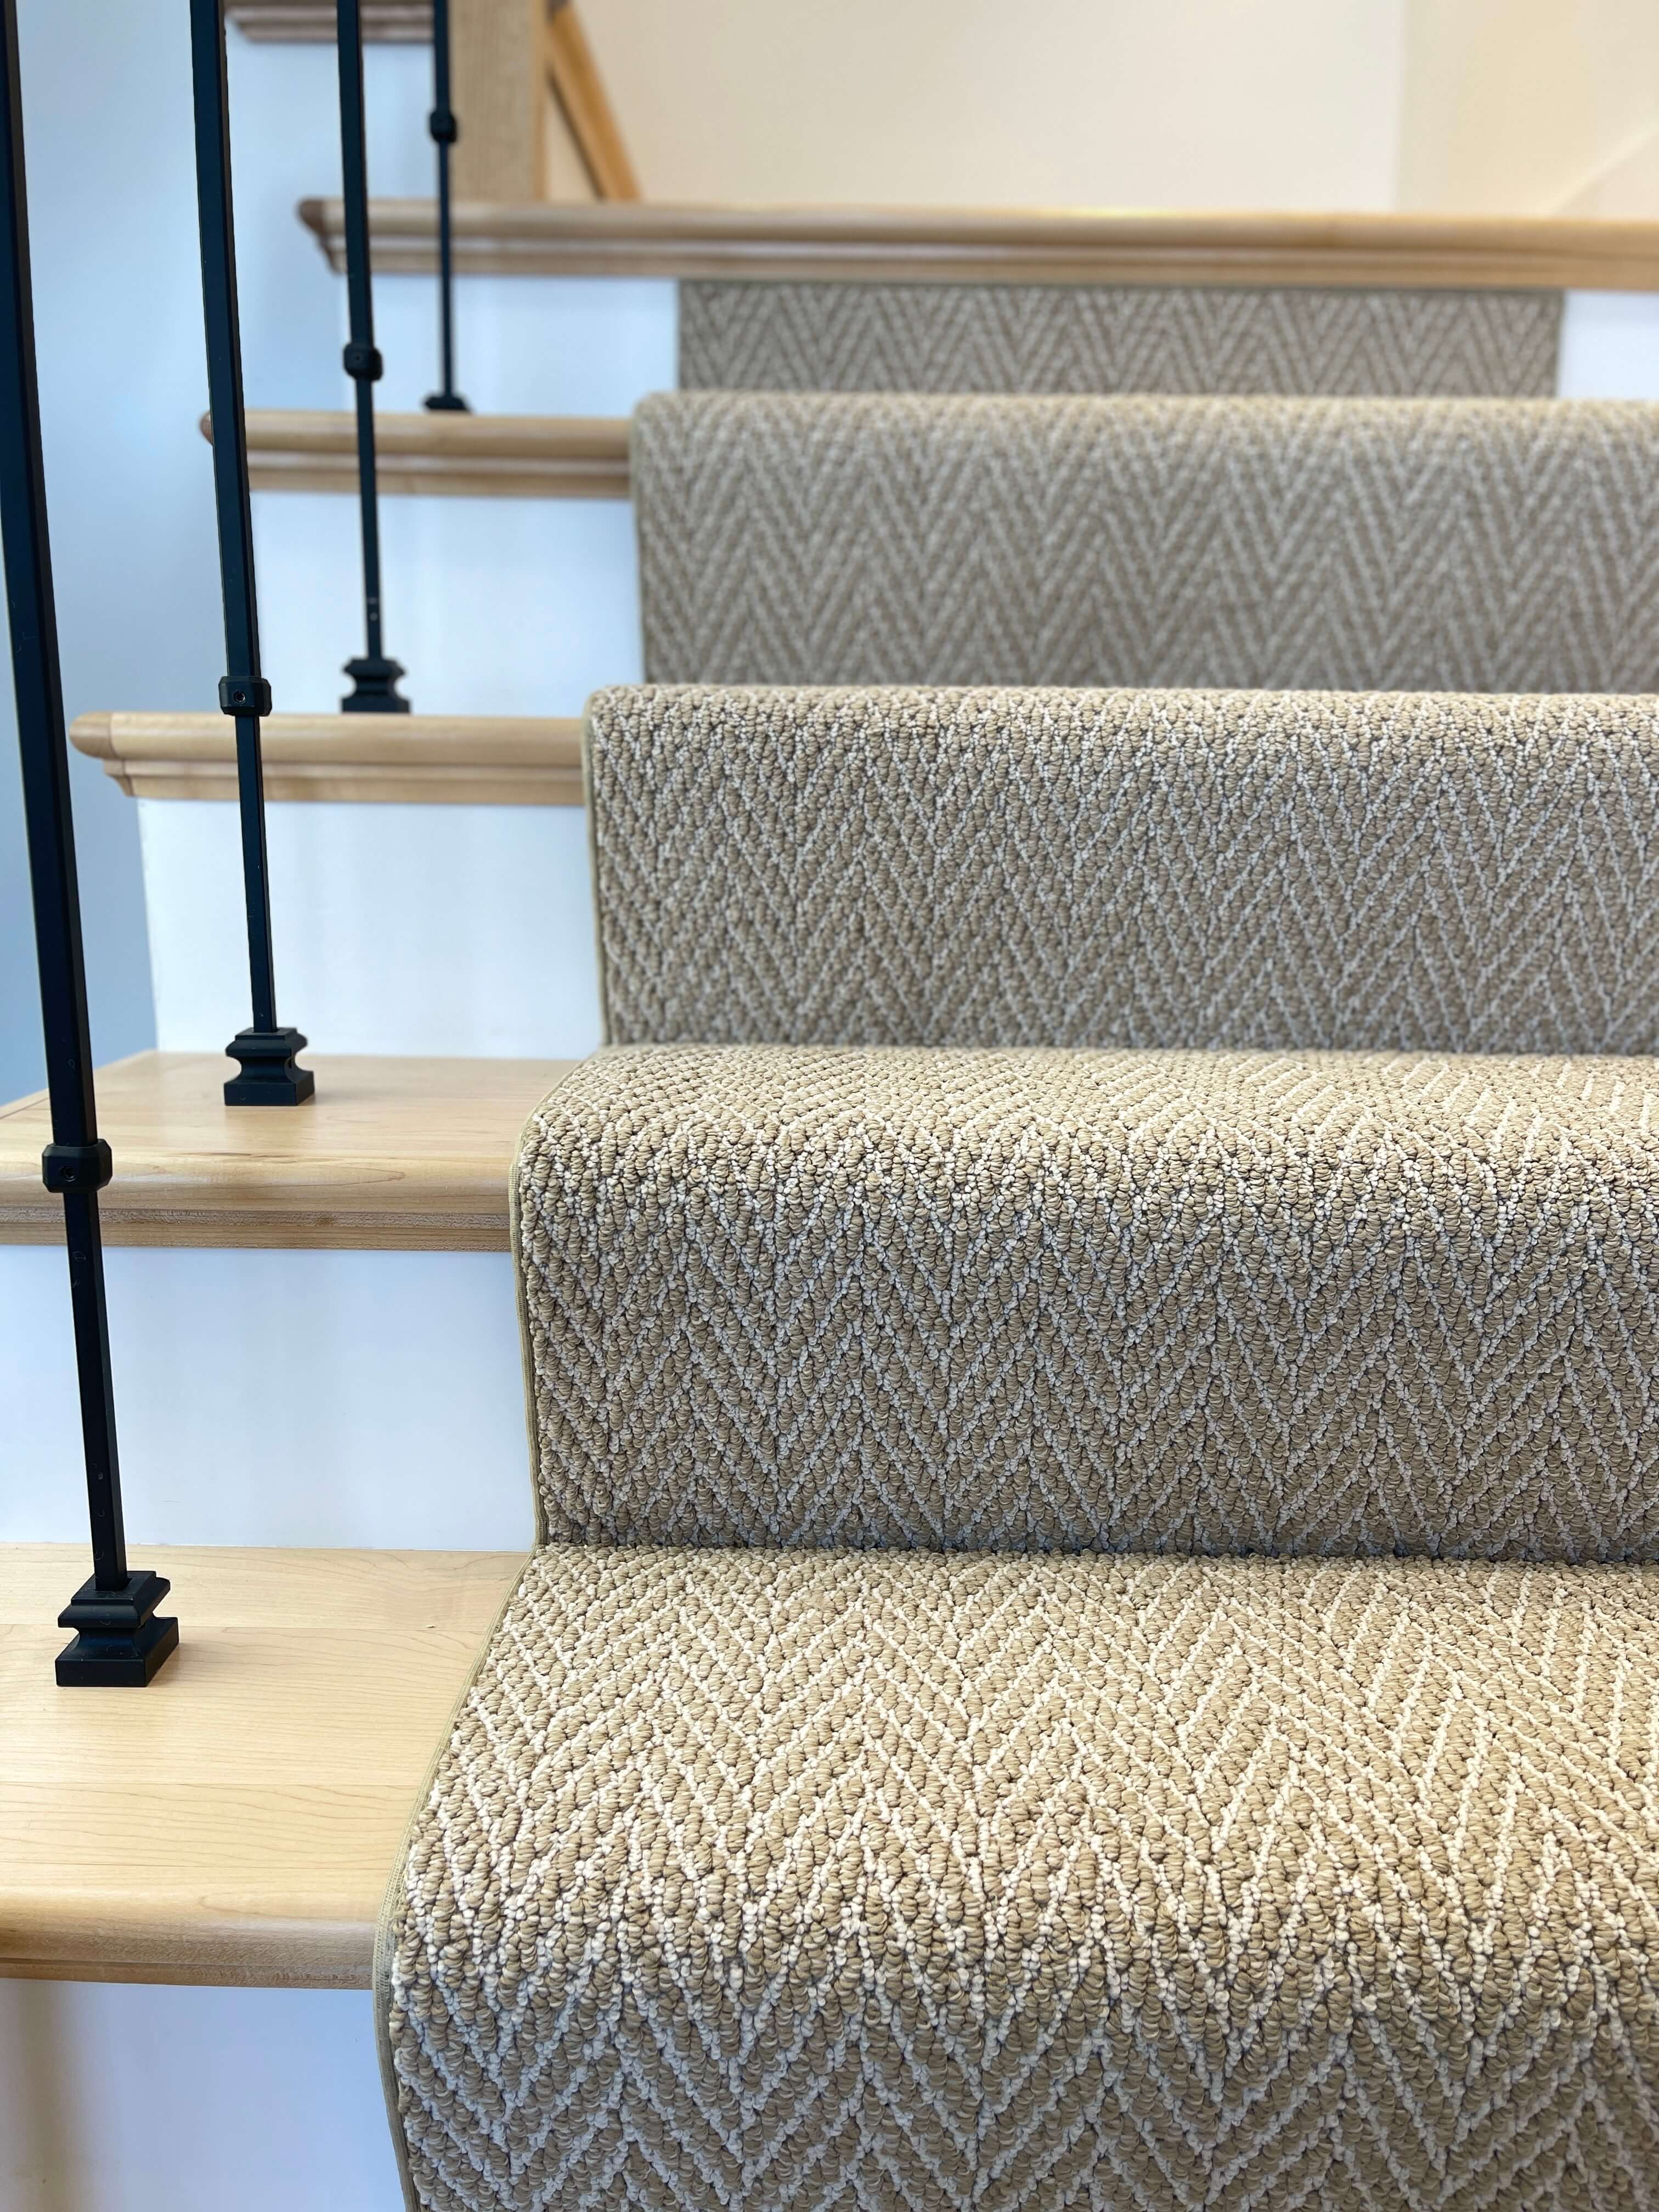
Selecting an appropriate material for your stair runner is of utmost importance. After all, it’s not just about the looks; it’s about durability too. We had to consider factors such as traffic, wear and tear, and even how it feels under bare feet. After much research, we found that wool and sisal were top contenders for a durable and good-looking stair runner.

Wool, being naturally resilient to dirt and crushing, was an excellent choice for high-traffic areas. Meanwhile, sisal offered a natural, textured look that we loved. We went for faux sisal Sisal Rugs Direct’s indoor/outdoor line, as it offered the benefits of sisal without the drawbacks. It didn’t shed fibers, was easy to clean, stain-resistant, and less slippery – a perfect choice for our hardwood stairs.
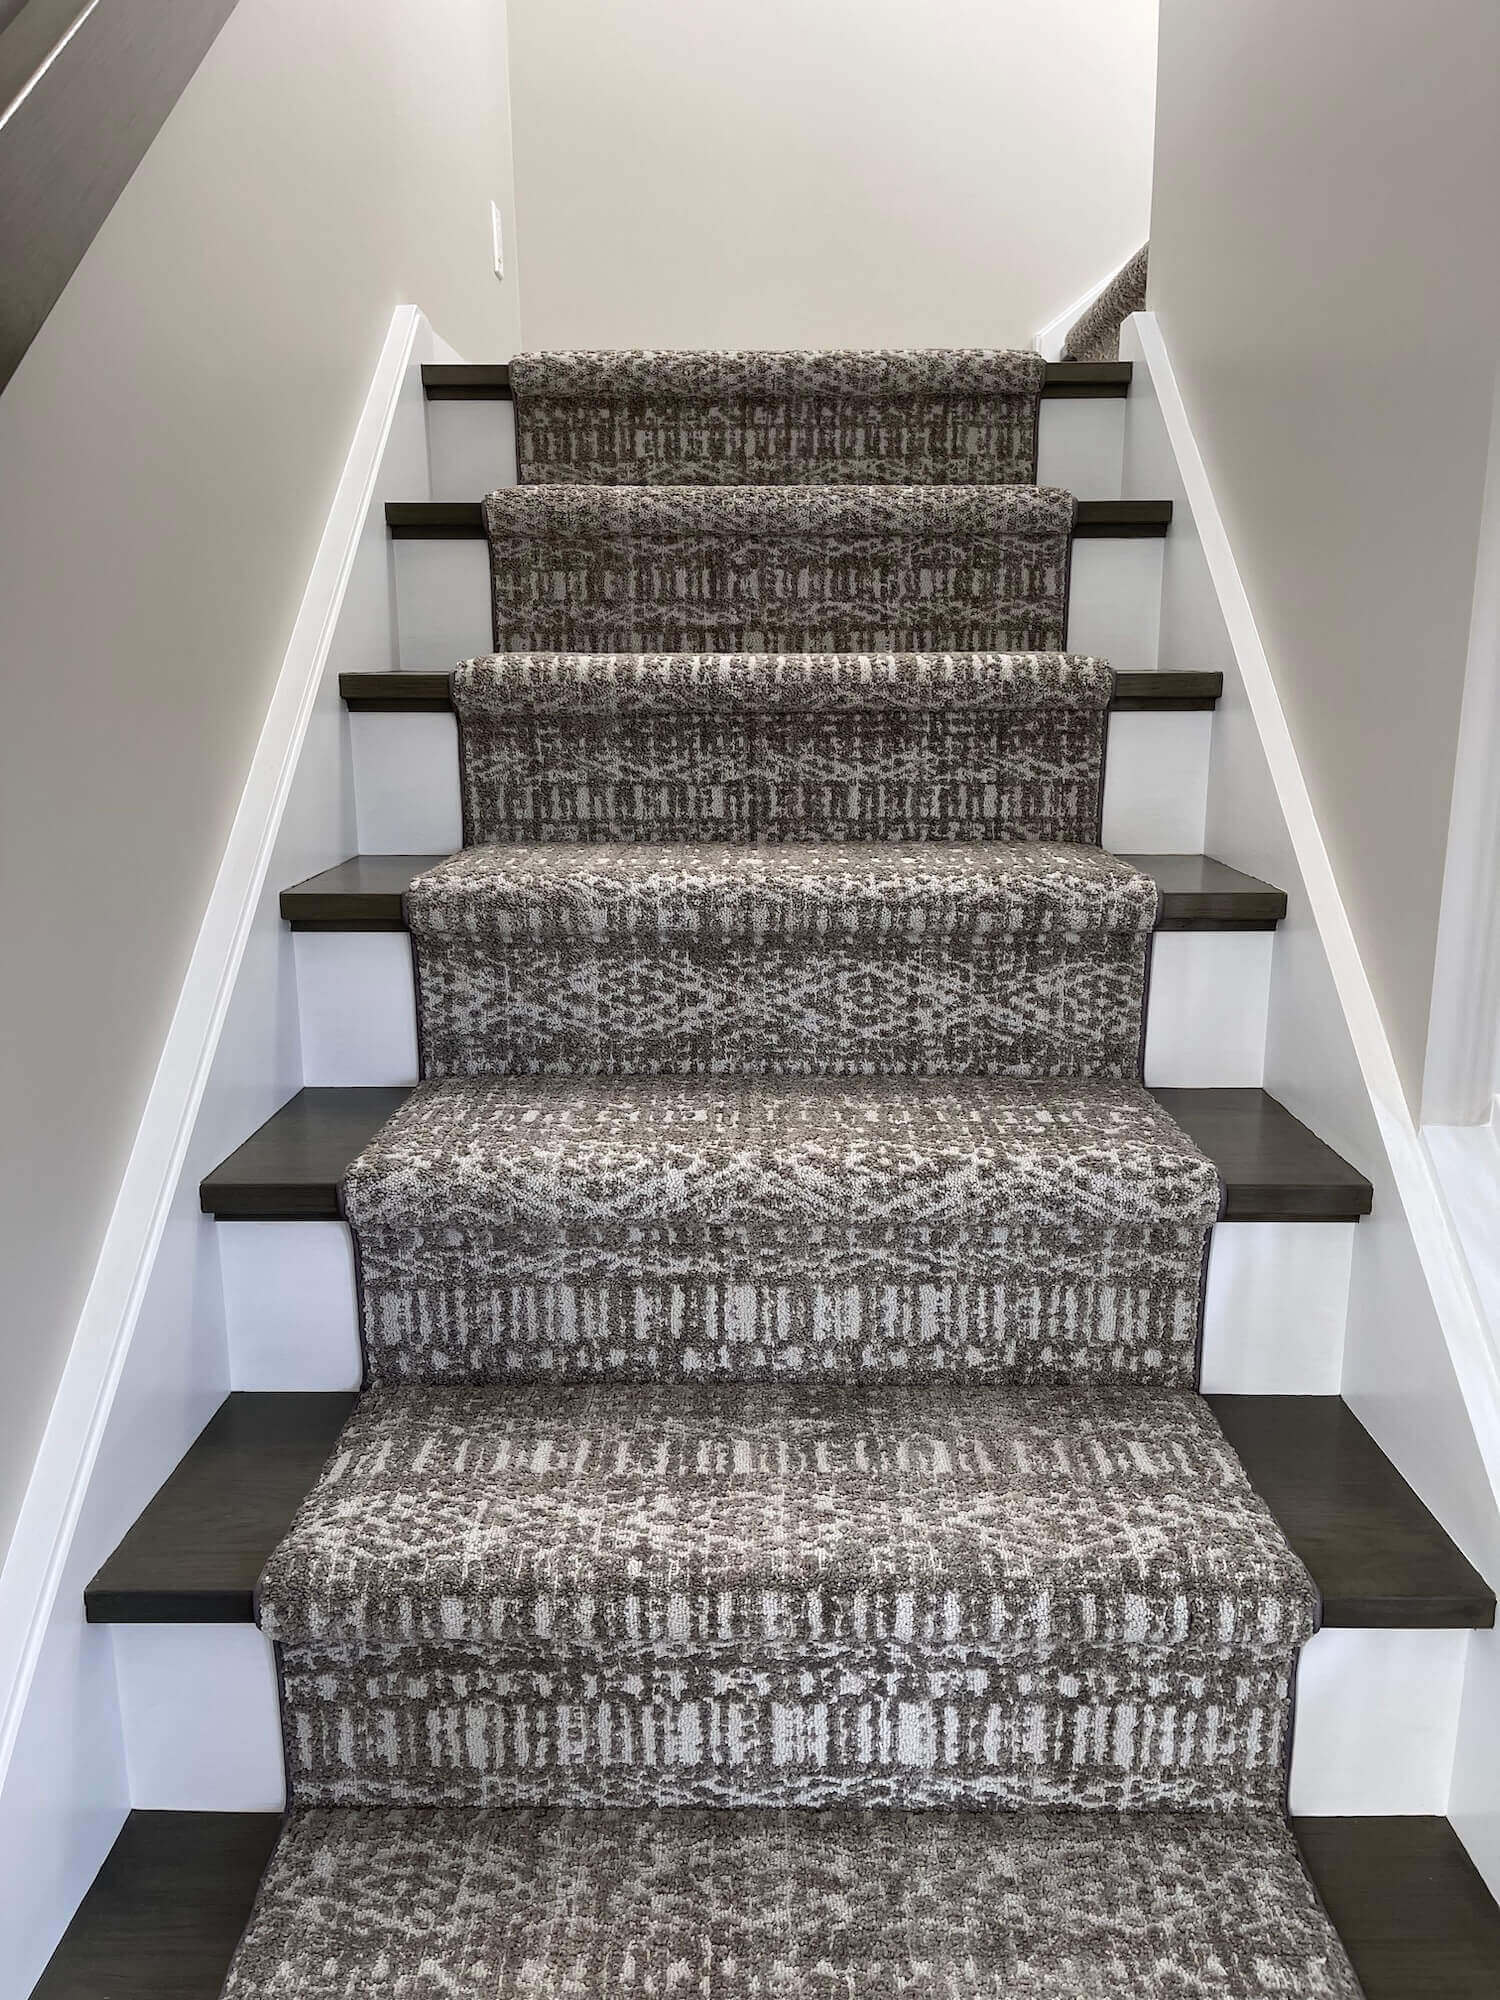
Style and Width Selection
Now, let’s talk style and width. Just as you would match your curtains to your room’s décor, your stair runner should complement your staircase and the surrounding décor. We discovered that various styles were trending, including:
-
Vibrant colors
-
Bold patterns
-
Classic beige
-
Plush carpets

Selecting an optimal width was another significant aspect to consider. A wider runner gave us a sense of stability while walking up and down the stairs, making the staircase safer. We went with a 28’’ width, which covered our stair treads comfortably and provided ample coverage over the tread nose.
Remember, the stair runner should be like Goldilocks’ porridge – not too narrow, not too wide, but just right!
Preparing Your Staircase
Having chosen the ideal stair runner, we proceeded to prepare our carpeted stairs. This part was like prepping a canvas before painting – it was all about creating a smooth, clean surface for our masterpiece, the stair runner.
The preparation involved sanding and cleaning our staircase to get rid of any dirt or scuffs. We also had to repair any damage and apply primer to the stairs. This phase was vital in guaranteeing a seamless and secure installation of our stair runner.
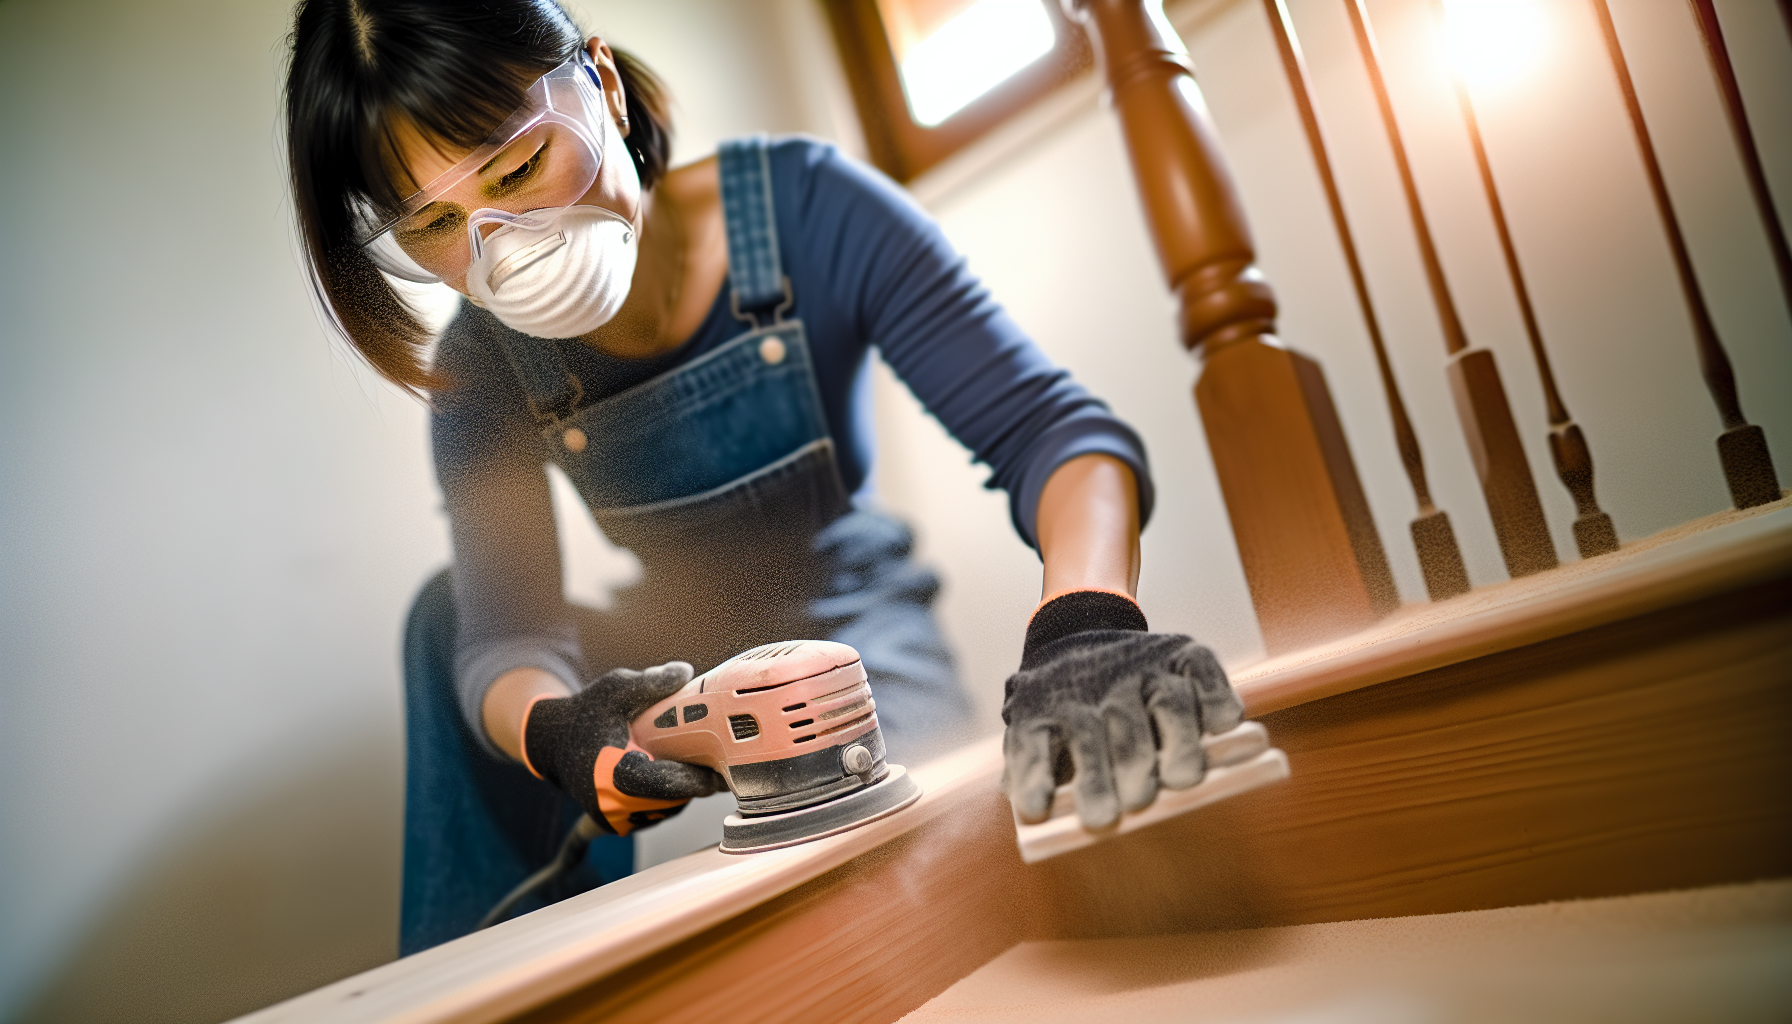
Sanding and Cleaning
To create a clean canvas for our stair runner, we started by giving our stairs a good sanding. Using 80-grit sandpaper, we smoothed out the surface, removing any old paint or varnish. And let us tell you, watching the transformation from old and worn to smooth and fresh was quite satisfying!
Once the sanding was done, it was cleanup time. We mixed a liter of water with 1/4 cup of an active stain remover. This mixture was perfect for getting rid of any dirt and lingering odors, leaving our staircase ready for the next step. For those stubborn stains, a paste of baking soda and water did the trick!
Repair and Prime
With the sanding and cleaning done, we moved on to repairing and priming the wood stairs. We filled any nail holes with a tough putty, and after it dried, we sanded it down to match the level of the steps.
Priming the staircase was the final step in our preparation process. We applied primer to make the surface smooth for painting or staining, which is key to the final look of our stair runner. We let the primer dry for at least three days, then gave it a good sanding for a smoother final coat.
Measuring and Cutting Supplies
After prepping our staircase, we proceeded to measure and cut our supplies. Accurate measurements were essential for an ideal fit. We calculated the runner length, prepared the rug pads, and cut the runner to size.
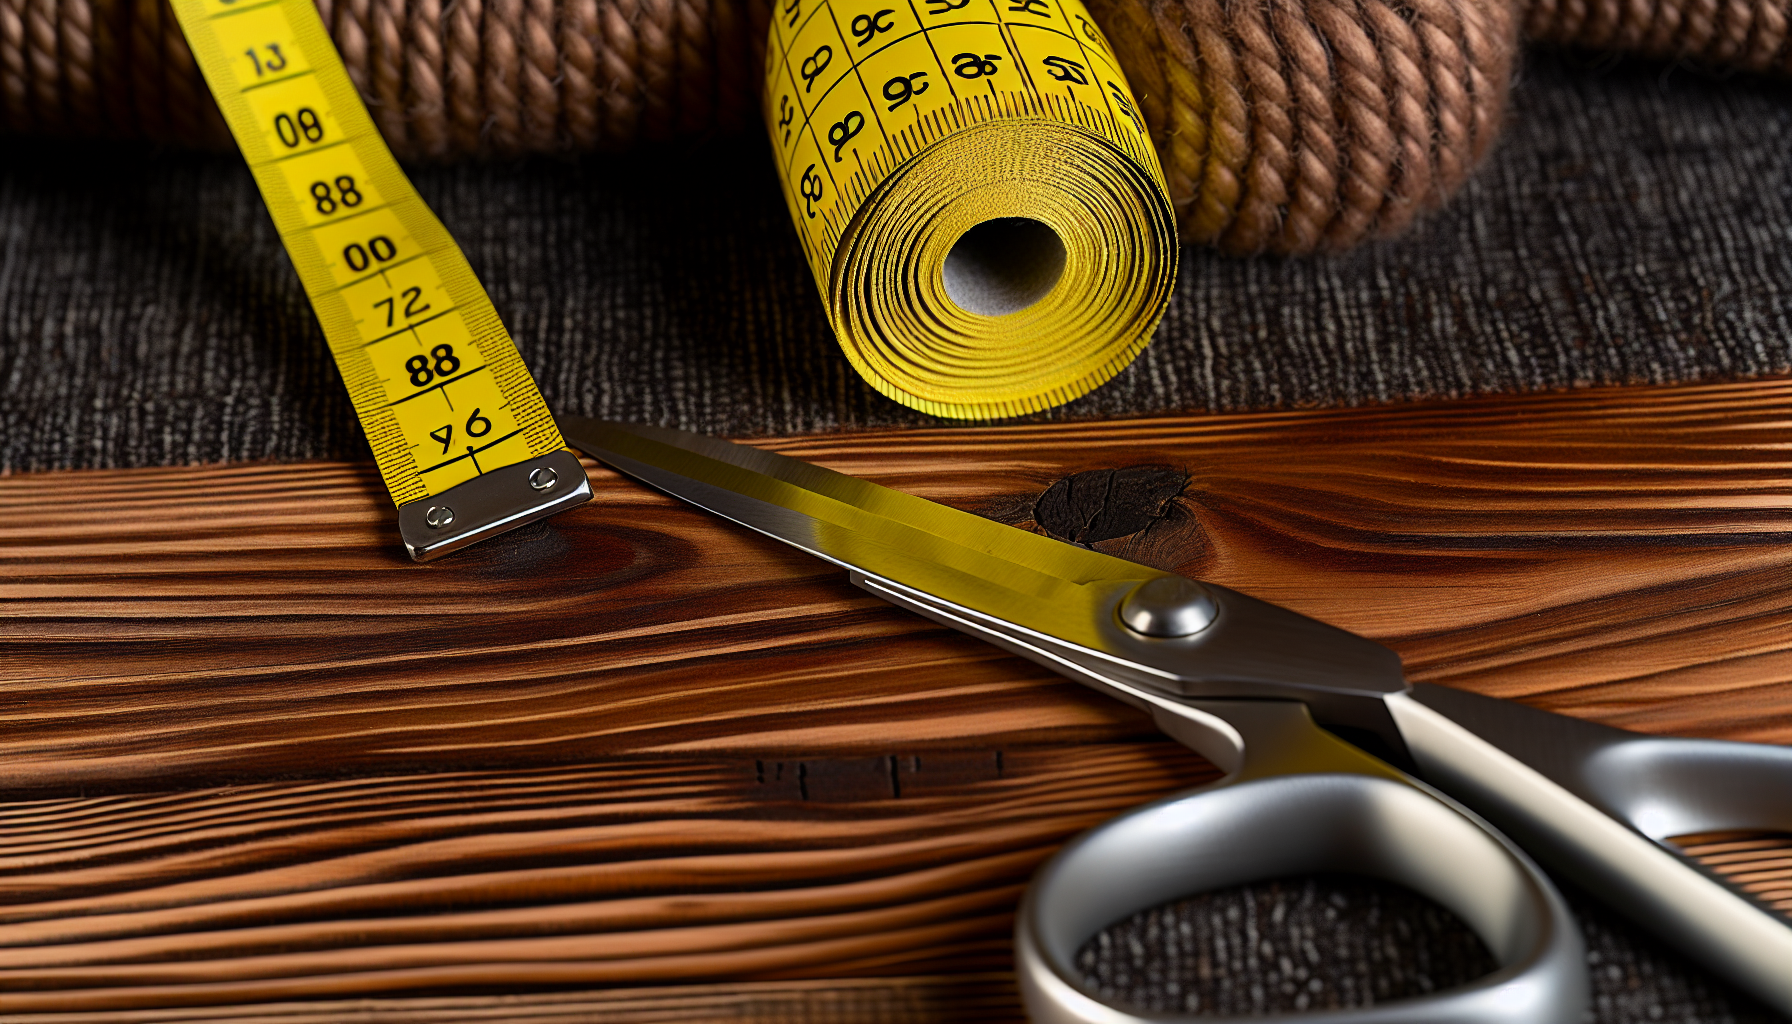
Calculating Runner Length
Calculating the runner length may sound complicated, but it’s quite straightforward. Here’s how to do it:
-
Measure the depth and height of one of your stairs, including the depth of the bull nose.
-
Multiply the measurements by the number of stairs.
-
Add an extra foot for any landings to make sure you have enough material.
The result was the perfect length for our stair runner. Remember, it’s better to have a bit extra than to cut short. After all, you can always trim the excess, but you can’t add more to a short runner!

Preparing Rug Pads and Runners
Once we had the perfect length for our stair runner, it was time to prepare our rug pads and runners. We cut the rug pads to be 2 inches narrower than the runner. This allowed the runner’s edges to grip the stairs and stay in place.
Preparing the runners required some precision. We aligned the runner with our staircase measurements, ensuring it was centered and straight. This phase played a pivotal role in ensuring a sleek and professional appearance after the runner’s installation.
Installing the Rug Pad
Once our staircase was prepped and our supplies were ready, we initiated the installation process. And the first step? Laying down the rug pads.
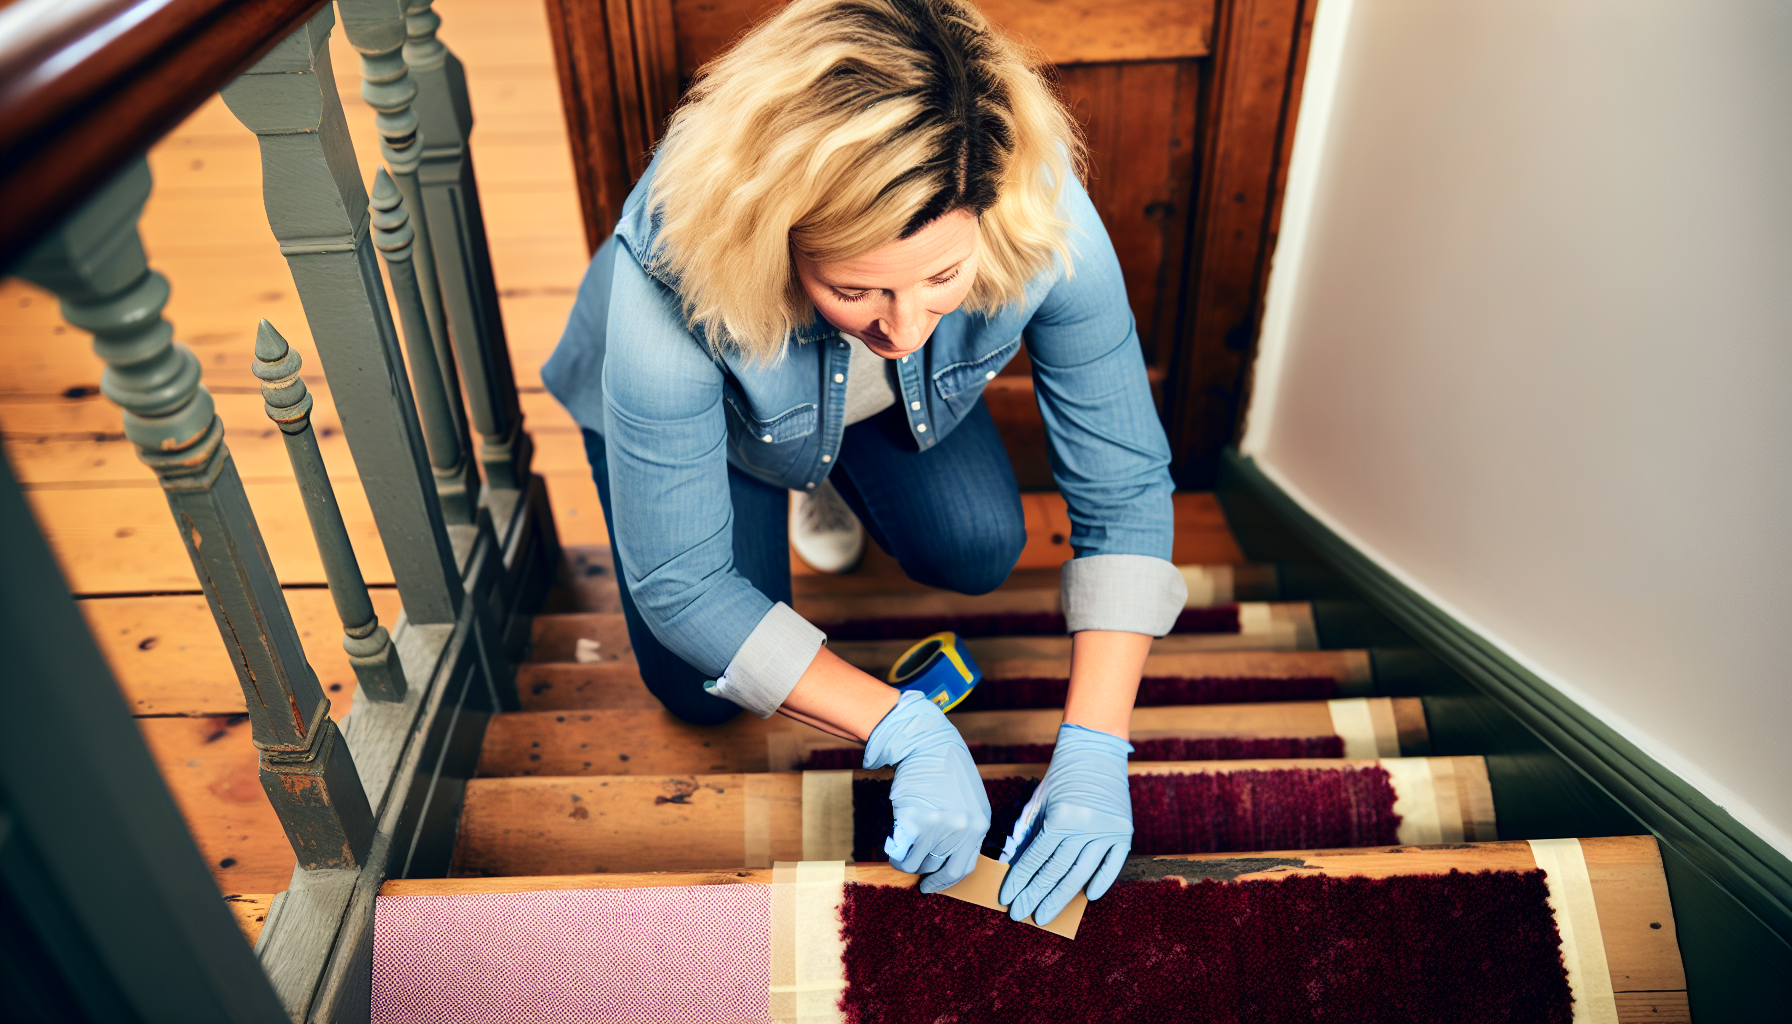
Aligning and Attaching Pads
We began by aligning each rug pad, carpet pad, and carpet pad with the stair tread. We marked the center position of the runner and then used carpet tape to secure the pads in place.
Next, we placed the rug pads with the tape side down, aligning the center with our marks on each tread. Making sure the pads were straight and centered was critical for a tidy and professional appearance.
Laying Down the Runner

With the rug pads in place, we were ready for the main event – laying down the runner. This step required careful alignment and secure stapling to ensure the runner was straight and firmly attached.
Stapling the Runner
We used a staple gun for this step, placing the staples under each stair nose and at the junction where the stair riser meets the tread. We began with a single staple in the middle, then worked our way left and right. This initial center staple prevented the runner from pulling to one side and helped maintain even tension across the width of the runner.
Ensuring Alignment
Ensuring the perfect alignment of the runner was vital for the staircase’s final appeal. We used painter’s tape to mark off the edges of the runner, ensuring it was straight and centered.
We also used a shim to adjust alignment, ensuring a straight and centered runner throughout the installation process.
Seaming Multiple Runners
Since our staircase was quite long, we needed to use multiple runners. Joining the runners together was an important stage to guarantee a seamless and professional appearance.
Overlapping Edges
We overlapped the edges of the two runners, ensuring the patterns matched up perfectly. We used carpet seam sealer on both of the angled cuts to prevent fraying and applied carpet seam tape to secure the seam.
We placed a board over the seam with hand weights on top and left it overnight to ensure a strong bond.
Finishing Touches
With the runner installed, it was time for the finishing touches. We trimmed and tucked the excess runner material and added decorative stair rods for a polished look.
Trimming and Tucking
We cut off the excess carpet runner material, folded it under, and secured it in place with staples. This created a clean, finished edge. To hide the staples, we used a black Sharpie to color over them, making them less obvious on the rug.
Adding Stair Rods
To enhance the appearance of our stair runner, we decided to install a stair runner and added decorative stair rods. These rods not only added to the aesthetic but also held the runner in place, providing an additional layer of security.
Maintenance Tips
Post the stair runner installation, we understood the importance of maintaining it to extend its lifespan. Regular vacuuming, spot cleaning, and periodic professional cleaning were some of the maintenance tips we found helpful.
Summary
Summarize the key points of the blog post. Inspire the reader to undertake their own DIY stair runner installation project.
Frequently Asked Questions
Can I install a stair runner myself?
Yes, you can install a stair runner yourself, especially on a straight staircase. Winder stairs that turn corners are more challenging but still doable with expert instructions. Just keep in mind the pricing which is based on the linear foot and the available widths of 27 inches and 32 inches.
How do stair runners stay in place?
Stair runners stay in place using adhesive tapes, gripper rods, and staples to secure them to the stairs. These methods help prevent the runners from shifting or moving while being used.
What do you put under a stair runner?
You should add a rug pad to each stair tread before installing a stair runner. Cut the pads to fit each tread and use carpet tape to adhere them in place. This will help provide cushioning and prevent slipping.
How do I choose the right material for my stair runner?
Choose a durable material like wool or sisal for your stair runner, considering the traffic and wear and tear your staircase gets.
How do I calculate the length of my stair runner?
To calculate the length of your stair runner, measure the depth and height of one stair, multiply by the number of stairs, and add extra length for any landings. That should give you the total length you need.


Leave a comment