How to Install Carpet on Stairs Cap and Band Method: A Step-by-Step Guide

Looking to install carpet on stairs using the cap-and-band method? This guide will walk you through each step, ensuring a professional finish. The cap-and-band method, specifically for installing carpet on stairs, involves securing separate pieces of carpet on the stair tread and riser, creating a neat, durable look. By the end of this article, you’ll have all the knowledge needed to complete this project with confidence.
Key Takeaways
-
The cap and band method for carpet installation on stairs provides a durable and polished finish, ideal for high-traffic areas.
-
Accurate measurement and cutting are essential to prevent gaps and ensure a seamless fit during installation.
-
Regular maintenance, including vacuuming and steam cleaning, is crucial for preserving the appearance and longevity of carpeted stairs.
Tools and Materials Needed
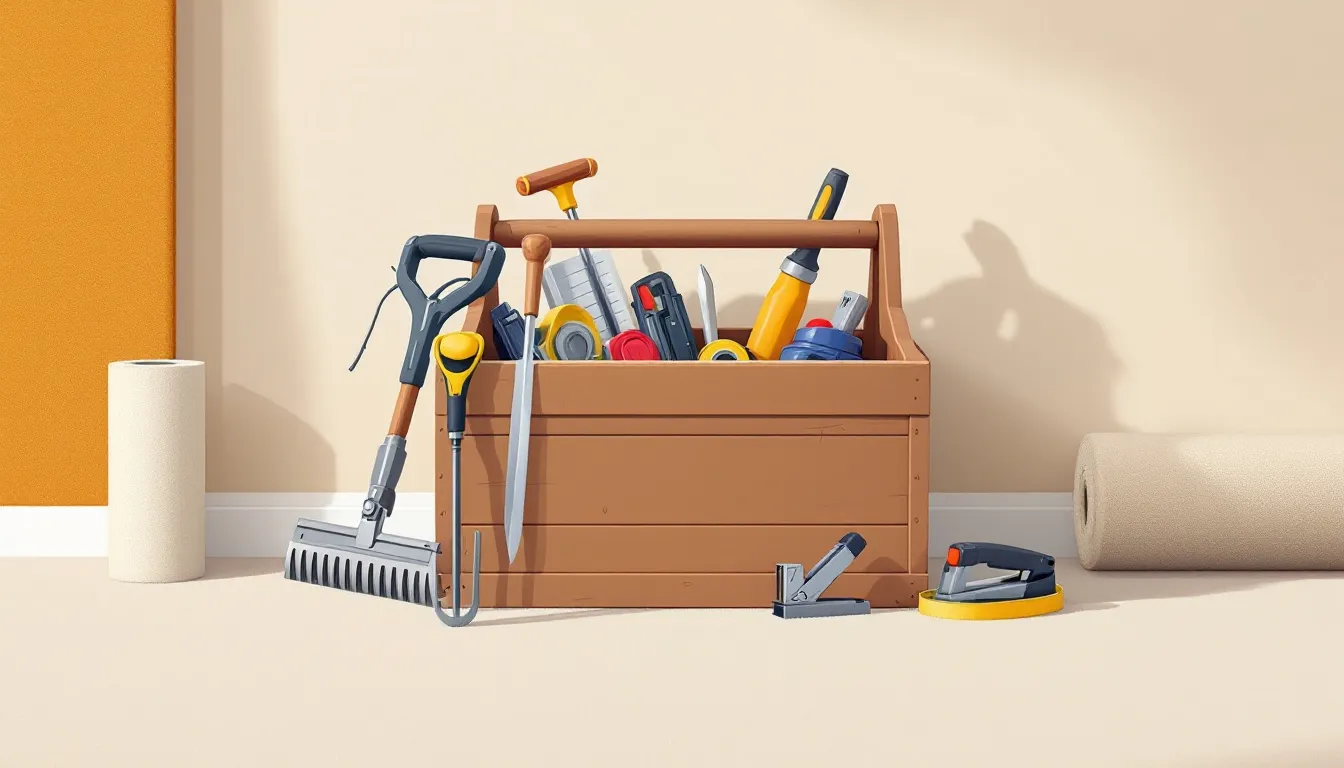
Before commencing the installation of your carpet, it’s important to collect all the necessary tools and materials.
Possessing a complete set of tools will not only facilitate a smoother installation process but also guarantee that the carpet is affixed properly and firmly.
Essential items include a precision-cutting carpet knife, tack strips for anchoring the carpet in place, and a staple gun to attach the edges securely.
Having a knee kicker is imperative for snugly adjusting the carpet around stairs and preventing any loose or uneven sections.

Incorporating padding beneath your carpet serves as an essential element by providing cushioning while simultaneously prolonging its durability through mitigating impacts from foot traffic.
Opt for premium-quality padding that pairs well with your chosen type of carpet.
To maintain the stability of this foundational layer and ensure evenness on which to lay down your carpet, either staples or adhesive should be applied when fixing down the padding.
With these specified tools at hand alongside suitable materials selected meticulously throughout each step ahead toward ensuring smooth execution during stapling portions—particularly crucial within overarching methodical procedures—your preparedness levels are optimized suitably enough to undertake such projects confidently moving forward.
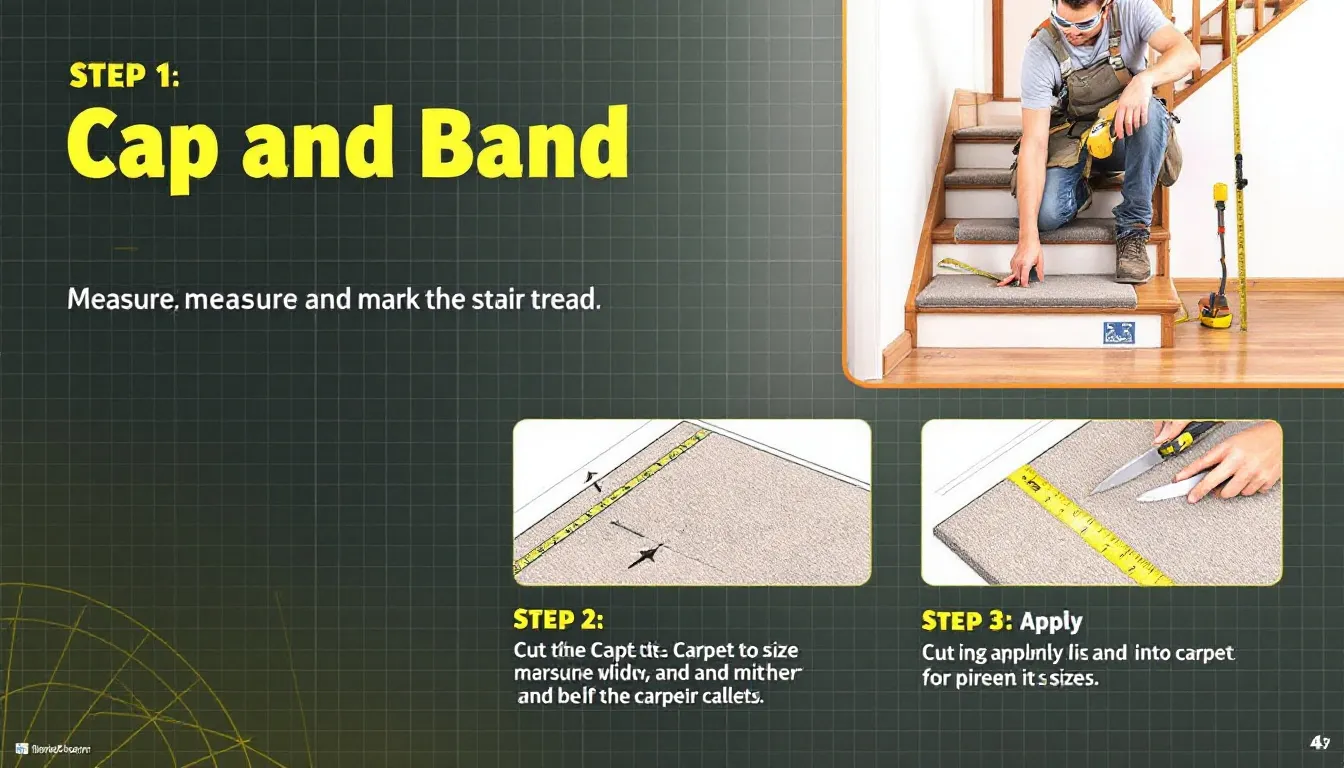
Measuring and Cutting Carpet
Accurate measurements form the foundation of successful carpet installation. Measure the dimensions of each stair tread, riser, and nose.
Capture the width and length of these areas using a measuring tape, adding a few centimeters for tucking and trimming.
For curved stairs, measure both the front and back of the tread to account for its shape.

After measuring, prepare to cut the carpet. Lay the carpet on a flat surface and mark your measurements.
Carefully cut along your marked lines with a carpet or utility knife to create cut pieces for each stair.
Precision is key here; any errors can lead to gaps or overlaps that will affect the final appearance and durability of the carpet.
For landing areas, measure both width and length, including an extra allowance for fitting.

This additional material will help you achieve a seamless transition between the stairs and the landing.
Accurate cutting with allowance for trimming ensures a snug fit that enhances the look of your carpeted stairs.
Installing Tack Strips
Tack strips are essential for fastening the carpet onto stairs, creating a stable surface that prevents shifting and enhances longevity.
Place these tack strips at the rear border of every stair tread and just above each riser’s base.
It is important to orient the angled tacks on these strips inward toward the middle of each tread to maximize their hold.
A space of 1/4 inch should be left between each strip and the edge of its respective stair.
This allows room to neatly tuck in your carpet, ensuring an elegant finish similar to that seen in professional installations, with the edges smoothly secured within this gap.
When you correctly position tack strips, they help keep your carpet tightly affixed, bolstering safety by reducing the risk of loose or wrinkled carpets over time.
To reinforce stability, additional tacks can complement these strips during stretching procedures.
Laying Down Carpet Padding
Adding carpet padding improves both the comfort and longevity of your carpet.
For each stair tread and riser, tailor the padding to fit perfectly without leaving any spaces or causing overlaps.
Ensure that you place the padding with its smooth side facing up to create a stable and comfortable foundation.
Affix the padding firmly in place using either adhesive or staples, making sure it does not shift around, which could compromise stability.
Offset the seams when laying multiple pieces of padding to minimize potential weak areas that might detract from how well your carpet functions.
Once you’ve laid down the padding, eliminate any bumps or irregularities for an impeccable base.
Installing proper cushioning beneath your staircase’s carpet enhances both coziness underfoot and thermal insulation on stairs fitted with carpets.
By absorbing impact from foot traffic, the layer beneath it prolongs your stairway’s aesthetic appeal and functional durability by reducing wear on the carpet above.
Attaching the Carpet: Cap and Band Method
The cap and band approach involves affixing individual carpet segments to each riser and tread, producing a defined appearance.
Begin by fixing the carpet onto the riser, ensuring it lies flat and is firmly in place.
Employ double-sided tape or a premium adhesive for initial positioning of the carpet on the surface, then reinforce this attachment at points where the riser converges with the tread using staples.
Proceed by fitting the carpet over the stair tread, draping it across the tread to ensure a tight contour.
Maintain its position with either tape or adhesive again before securing all edges through stapling to minimize any potential shifting.
Though demanding precision and careful attention during installation, this technique yields an immaculate finish that complements your staircase while laying down carpet on the steps.
Applying this method adds both visual charm and resilience, which are paramount in areas subject to frequent use.
By adhering to these instructions systematically, you can achieve an installation akin to professional standards that endures over time.
Securing Edges and Finishing Touches
Utilize a carpet knife to eliminate any surplus carpet, ensuring an impeccably neat finish.
Gently press the edges of the carpet into the space between the wall and the tack strip for an integrated appearance.
Use a staple gun to firmly affix these edges, preventing them from fraying over time.
Following installation, inspect each stair individually for any loose sections and apply high-quality adhesive designed specifically for carpets in areas that receive substantial foot traffic.
This crucial step significantly bolsters your carpet’s resilience and keeps it securely anchored.
By focusing on these detailed elements during preparation, you can achieve a sophisticated and expert look on your staircase with stained wood floors.
The attention paid here will not only add depth to your design, but also create an inviting atmosphere tailored toward enhancing safety when kids are using the stairs.
Tips for a Neat Finish
For a professional finish, use a rubber mallet and stair tool to press the carpet securely into the seams.
This step tightens the carpet and removes wrinkles, creating a smooth, elegant appearance. Re-secure any loose areas using a carpet tucker tool.
For added stability, apply professional carpet adhesive, especially on intricate corners or landings.
This prevents movement and keeps the carpet in place, even in high-traffic areas. Following these tips ensures a neat and stylish finish that enhances your staircase’s elegance.
Why Choose the Cap and Band Method?
Employing the cap and band method often yields a more refined, custom-fitted appearance than alternatives such as the waterfall technique.
This approach is characterized by its sophisticated, graceful look that appeals widely among homeowners for its aesthetic value.
One of the key benefits of using this method lies in its superior endurance. By firmly affixing the carpet to both the tread and the riser, it ensures a robust, enduring setup capable of handling substantial foot traffic.
The practice of applying binding tape around carpet edges or serging them contributes significantly to preventing wear at these points, thereby increasing longevity.
For those less experienced with installation procedures, this style simplifies stretching difficult nylon carpets into place for an elegant end result.
Its combination of neat elegance along with reinforced strength positions it as an outstanding option when installing carpet on stairs.
Professional Installation vs. DIY
Undertaking the task of installing carpet by yourself can be an economical choice for smaller spaces or less complex layouts.
It necessitates meticulous preparation, appropriate tools, and a comprehensive understanding of the installation steps.
A flawed DIY job risks invalidating your carpet’s warranty and incurring expenses.
In contrast, for broader expanses or zones subjected to substantial footfall, it’s advantageous to employ a seasoned installer.
The expertise they offer guarantees not only superior workmanship but also extends the life expectancy of your carpet.
If you find that managing a DIY project is becoming overly complex, any savings could be negated by substandard execution.
In deciding whether to opt for professional services or handle installation on your own, it hinges on how extensive the project is and how confident you feel about tackling it.
Consider all advantages and disadvantages meticulously before concluding which route will best suit your needs.
Maintaining Carpeted Stairs
Keeping up with the care of carpeted stairs is essential for both their aesthetic and longevity.
Heavy footfall necessitates the selection of robust carpets that can endure wear.
Consistent upkeep through methods such as vacuuming, scrubbing, and shampooing is important to maintain cleanliness and eliminate debris from the carpet on stairs.
Revitalizing your carpets can be achieved with steam cleaning.
It’s an effective way to tackle ingrained stains and unpleasant smells. For routine spills, blending some water or a mild solution using Dawn dish soap with carpet shampoo can effectively cleanse without causing harm.
Regularly grooming your stair carpet with a stiff-bristled brush minimizes buildup in the fibers, thus lessening the necessity for intensive cleanings.
Employing the cap and band method enhances traction over sleeker surfaces, which diminishes hazards like slipping or tripping.
By adhering to these suggested practices for maintenance, you’ll ensure that your staircase’s carpet remains vibrant and pristine well into the future.

Summary
In summary, installing carpet on stairs using the cap and band method provides a polished and durable finish that enhances both the appearance and safety of your staircase.
By following the step-by-step guide and using the right tools and materials, you can achieve professional-quality results.
Whether you choose to undertake this as a DIY project or hire a professional, the cap and band method is a worthwhile investment in your home’s comfort and style.
Frequently Asked Questions
What tools do I need to install carpet on stairs using the cap-and-band method?
To install carpet on stairs using the cap and band method, you will need a carpet knife, tack strips, a staple gun, a knee kicker, and carpet padding.
These tools will ensure a professional finish and secure installation.
How do I measure and cut the carpet for stairs?
To measure and cut carpet for stairs, accurately measure the tread, riser, and nosing of each step, adding a few centimeters for tucking and trimming.
This ensures a proper fit and clean finish when installing the carpet.
What are the advantages of the cap and band method?
The cap and band method provides a polished appearance, improved durability, and is user-friendly for beginners seeking a clean finish.
This makes it an excellent option for those looking to enhance their craftsmanship.
Should I hire a professional or do the installation myself?
Hiring a professional is advisable for complex installations to ensure quality and longevity.
However, if you’re confident in your skills and have a manageable project, a DIY approach can save costs.
How do I maintain carpeted stairs?
To maintain carpeted stairs effectively, regularly vacuum and brush them, and shampoo or steam clean as needed.
For everyday stains, use gentle cleaning solutions and ensure your carpet is durable enough for foot traffic.


Leave a comment